
Coming into an unfamiliar harbour at dusk, the first buoy can tell you a great deal—or, if you have learned the wrong regional rule, it can quietly tell you the opposite. That is the small trap at the heart of buoyage. Most of the world uses one convention for lateral marks; the Americas and a few western Pacific countries use another. The marks themselves are not random. They tell you which side of a channel to pass, where the deep water lies, and which side of a hazard is safe. Once you read colour, shape, topmark and light together, the difference between the two systems becomes one focused question—which colour belongs on which side?—rather than a fog of symbols.
The Two Systems in One Minute
The International Association of Marine Aids to Navigation and Lighthouse Authorities—IALA—sets the international framework. It divides the world into two buoyage regions. Region A covers Europe, Africa, Asia, Australia and much of Oceania. Region B covers North and South America, Japan, the Philippines and the Republic of Korea. The boundary is not a line drawn across the ocean for navigators to spot; it is a chart and publication boundary, often coinciding with a national or harbour limit.
Both regions use the same five broad families of marks: lateral marks, cardinal marks, isolated danger marks, safe water marks and special marks. The big difference is confined mainly to the lateral marks—the red and green buoys that mark the sides of a channel. Cardinal marks, isolated danger marks and safe water marks follow the same logic in both regions. That is reassuring. It means a passage from Europe to the Caribbean does not require relearning the whole vocabulary, only the part that changes sides.
Lateral Marks: Colour, Shape and the Red Port/Red Right Rule
Lateral marks are read in relation to the direction of buoyage. That direction is usually from seaward toward a harbour, river or estuary, but it can also be defined by the harbour authority and shown on the chart by a magenta arrow. Always confirm it before you interpret a pair of red and green buoys. A buoy does not have a fixed “left” or “right” meaning until you know which way the direction of buoyage runs.
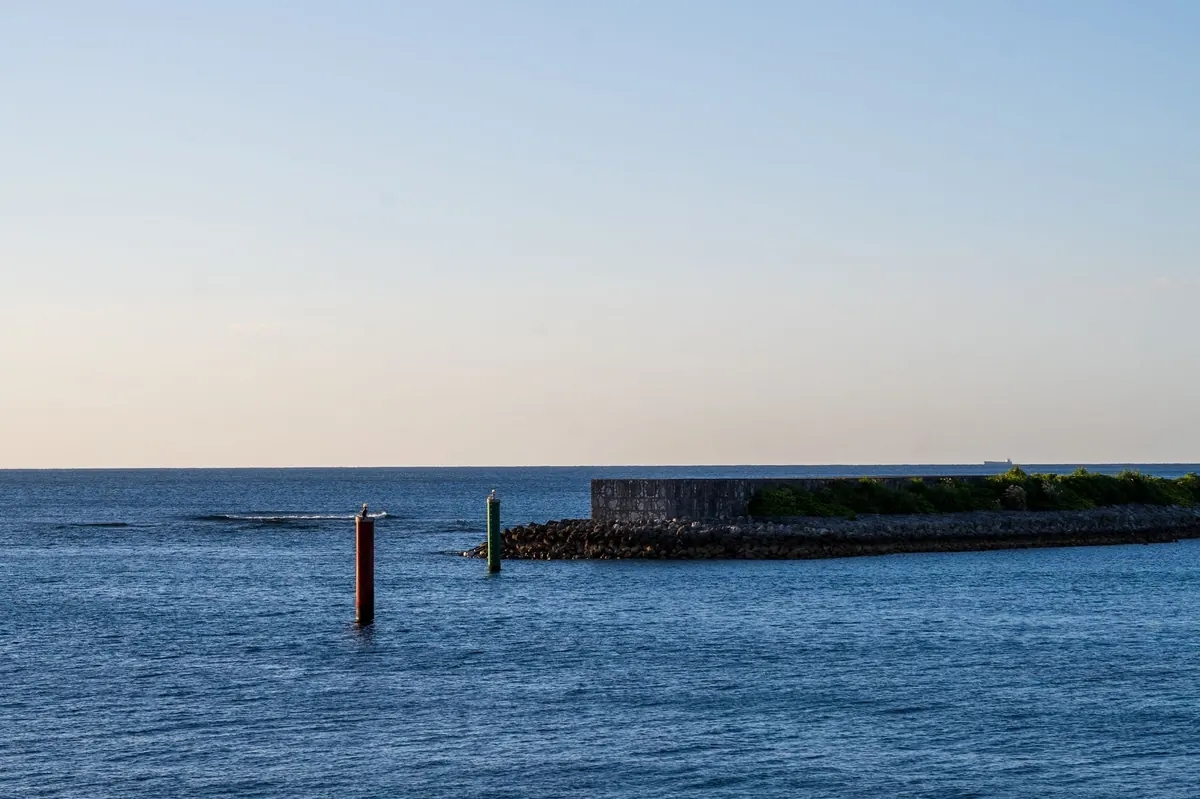
In Region A, when you are proceeding in the direction of buoyage, red marks the port side and green marks the starboard side. The old shorthand is “red port.” In Region B, the colours are reversed: red marks the starboard side and green marks the port side. In the United States and much of the Americas, this is captured by “red, right, returning”—keep red buoys to starboard when returning from sea.
The shapes are a useful cross-check. In both regions, can-shaped lateral buoys mark the port side and conical buoys mark the starboard side. Topmarks follow the same rule: a can topmark for port, a cone topmark for starboard. At night, lateral marks carry red or green lights matching their colour. That gives you three clues—colour, shape and light—though at a distance colour can be the least reliable, especially in poor visibility or for a crew member with colour vision deficiency.
- Region A: port-hand mark is red and can-shaped; starboard-hand mark is green and conical.
- Region B: port-hand mark is green and can-shaped; starboard-hand mark is red and conical.
- Both regions: can shape means port side; cone shape means starboard side.
- Both regions: the light colour matches the buoy colour, but the side it indicates depends on the region.
A concrete example makes the switch memorable. Approaching a harbour in Region A, a red can buoy ahead means keep it to port—pass it on your left. The same red can buoy in Region B would be a starboard-hand mark, so you keep it to starboard. Same colour, same shape, opposite instruction. That is why a charted position and a quick look at the chart legend matter more than a half-remembered rule.
Cardinal Marks: The Same Language Everywhere
Cardinal marks are the calm, consistent part of buoyage. They are the same in Region A and Region B, and they answer a different question from lateral marks: not “which side of the channel?” but “where is the safe water?” A cardinal mark is named after the quadrant of safe water around it. Pass north of a north cardinal, east of an east cardinal, and so on.
Their colour scheme is black and yellow, and their topmarks are two cones. The pattern rewards a little study because it is logical rather than arbitrary.
- North cardinal: black above yellow; both cones point up. Light is quick or very quick white.
- East cardinal: black with a yellow band; cones are base to base. Light is white, quick, group of three every 10 seconds.
- South cardinal: yellow above black; both cones point down. Light is white, quick, group of six plus a long flash every 15 seconds.
- West cardinal: yellow with a black band; cones are point to point. Light is white, quick, group of nine every 15 seconds.
If you can identify a cardinal mark, you have a reliable instruction that does not change when you cross from one region to the other. In a strange harbour, that is worth a lot. It also explains why experienced navigators often say that the first thing to master is not the red-green rule but the cardinal system—because it works everywhere.
Other Marks and the Junction Problem
Safe water marks indicate that there is navigable water all around. They are usually red and white vertical stripes with a single red sphere topmark, and they carry a white light that is isophase, occulting or Morse “A.” Isolated danger marks sit on a small hazard with safe water around it; they are black and red horizontal bands with two black spheres and a white flashing group of two. Special marks are yellow and often mark cables, pipelines, swimming areas, limits or administrative zones; their topmarks vary, so read the chart rather than guessing.
Preferred-channel marks at a junction use the lateral colours with a contrasting band. The principle is the same in both regions, but because red and green swap sides, the band pattern is not a universal memory aid. At a fork in a channel, slow down and read the chart symbol, the topmark and the buoy’s charted position. If the preferred channel is not obvious, treat it as a pilotage problem, not a colour quiz.
Where the Systems Meet
You can cross from Region A to Region B on a single passage, so the switch deserves a place in your passage plan. The change is charted and published, not a secret. Check the chart title, the sailing directions and the pilot book for the region you are entering. Look for the IALA note and the direction-of-buoyage arrow. On an electronic chart, do not assume the display has made the regional convention obvious; verify against the official chart and the paper or digital publication for the area.
The practical risk is habit. A skipper who has spent years in Europe may see a red buoy in the Caribbean and instinctively keep it to port. In Region B, that red buoy is likely a starboard-hand mark. The same applies in reverse for a North American skipper sailing into a European harbour. Build a deliberate reset into the approach: identify the region, confirm the direction of buoyage, and brief the crew on which colour goes on which side. A short verbal check before the buoy pair arrives is cheaper than a grounding.
A Pre-Departure Buoyage Check
Before any coastal passage, take two minutes to fix the rules in your mind and on the chart. It is a small habit that pays off in a crowded channel.
- Confirm the IALA region from the chart, pilot book or sailing directions.
- Find the direction of buoyage and mark the first lateral pair on your approach.
- Brief the crew: in Region A, red to port; in Region B, red to starboard when proceeding in the direction of buoyage.
- Use shape and topmark as cross-checks, especially at night or in poor visibility.
- Identify any cardinal, safe water or isolated danger marks before you need them.
- When crossing between regions, say the new rule aloud and reset the mental habit.
A buoy is a confirmation of your position, not a substitute for one. If the colours and shapes stop making sense, slow down, hold in safe water and re-check the chart and your bearings. Buoyage is there to make the channel clearer—not to replace careful pilotage.
Photo: Guohua Song / Pexels